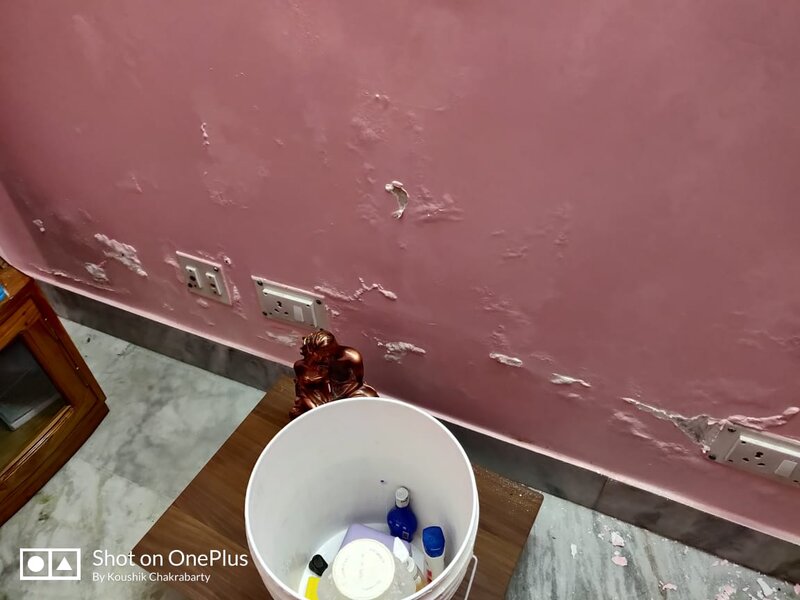
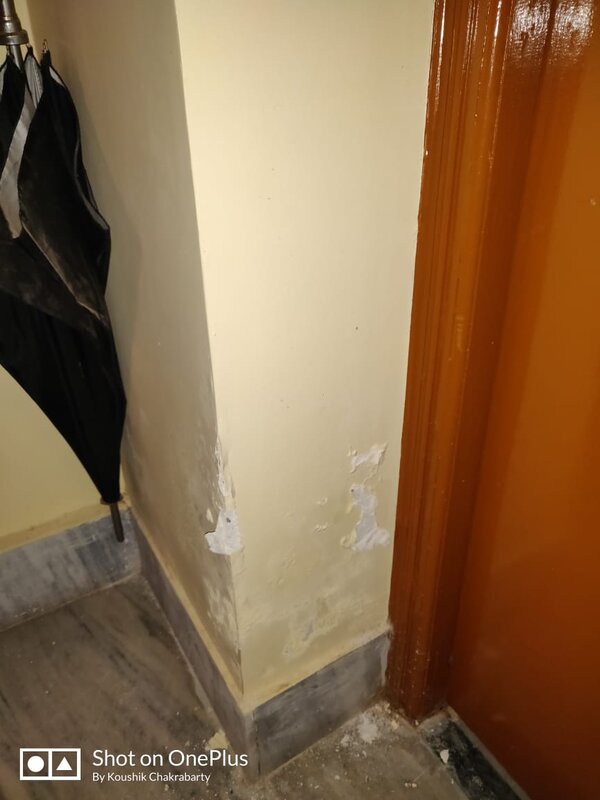
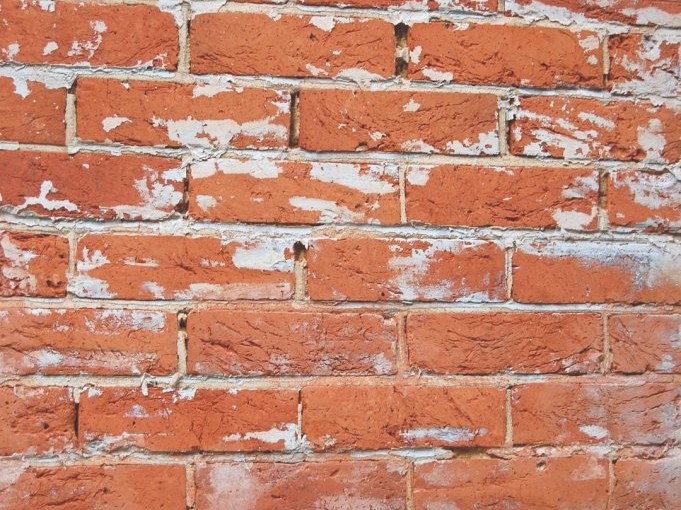
it look like a rising dampness on wall from floor.
It mostly happens when the water gets accumulated below the flooring tiles and on top of waterproofing. the accumulated water do then travel by taking slope of floor and when there is no way to pass further, it starts rising on the wall.
The another case as told by you, can happen when there will be leakage in plumbing line on wall. sometimes it take long to show a dampness on wall when the leakage in line is very tiny.
What You can do in such case ?
Well first you inspect the all floor and wall tile joints for no gaps in it. if the joints are opened up or gaps observed in it, do re-grouting of those joint with epoxy grout of matching color to tiles by raking all joints.
This is the first source from where the water do enter below flooring.
While doing grouting at all wall to floor corners, also do get floor tile joints grouted.
Grout is of high quality stone powders are available in market at price of approx 100 rupees per Kg and the additive which boost the strength longevity comes as additional part could cost you extra. you need to mix those part without adding water in it.
Now the hopefully, you had blocked the source of the rising dampness.
when water comes down from the wall to floor tiles corner and from floor tile joints, it first travel through a floor tile bedding towards a slope in washroom area. which is towards the Floor Trap.
If there is no escape to fall into a floor trap the water starts to accumulate on floor and then rise on wall. Kindly do remove a floor trap jali and do check for is there any water way made in it at floor tile bedding level.
The another source of water travelling below floor tiles could also be found at floor trap, when you remove the floor trap cover / jali, do check for the opening does matches exactly to the floor trap walls below, if there is no straight alignment of floor trap walls with, trap cover hole, do check the surface on which water do fall from trap cover is not damaged or disintegrated. - if its showing disintegrations, kindly make that surface rough and refinish it with cement paste and washroom should not be used for at least one day.
For doing grouting you can also use cement (white / gray) or cement base grouts - in cement base grouts, you need to ensure curing to it is done by keeping it moist for minimum 3 days.
Mostly by doing grouting of tile joints, your problem will get solve.


